

If you’ve ever wondered how to install a Ring doorbell, this is the article you need to read. Anyone who visits you will appreciate being able to simply press a button to get your attention inside your home. This will negate the need of having to knock on the door until you appear. It’s a simpler and less noisy way of summoning you to the door. That way, visitors won’t be obliged to knock for several minutes, and even then, you might not hear the knocking. Continue reading below for the instructions on how to install a Ring doorbell.
Step One: Remove Power From Your Existing Doorbell
In order to install your new Ring doorbell, the first thing you’ll have to do is remove the old doorbell (if you have one). This calls for you to shut off power to the doorbell circuit. Locate the circuit breaker box in your household and shut off the circuit breaker corresponding to your doorbell. Most of the time, these breakers are labeled. However, if those in your box are not, you can try turning off the breakers closest to the front door one at a time.
After each attempt, press the old doorbell until you hear no sound at all coming from the doorbell chime. At this point, you’ll need to remove your old doorbell by unscrewing the two Phillips screws holding them in place. If your doorbell has been installed for quite a while, you may need to pry it away from the wall. Make sure to unscrew the terminals attached to your old doorbell, and then you’ll be able to remove the assembly.
Step Two: Preparation
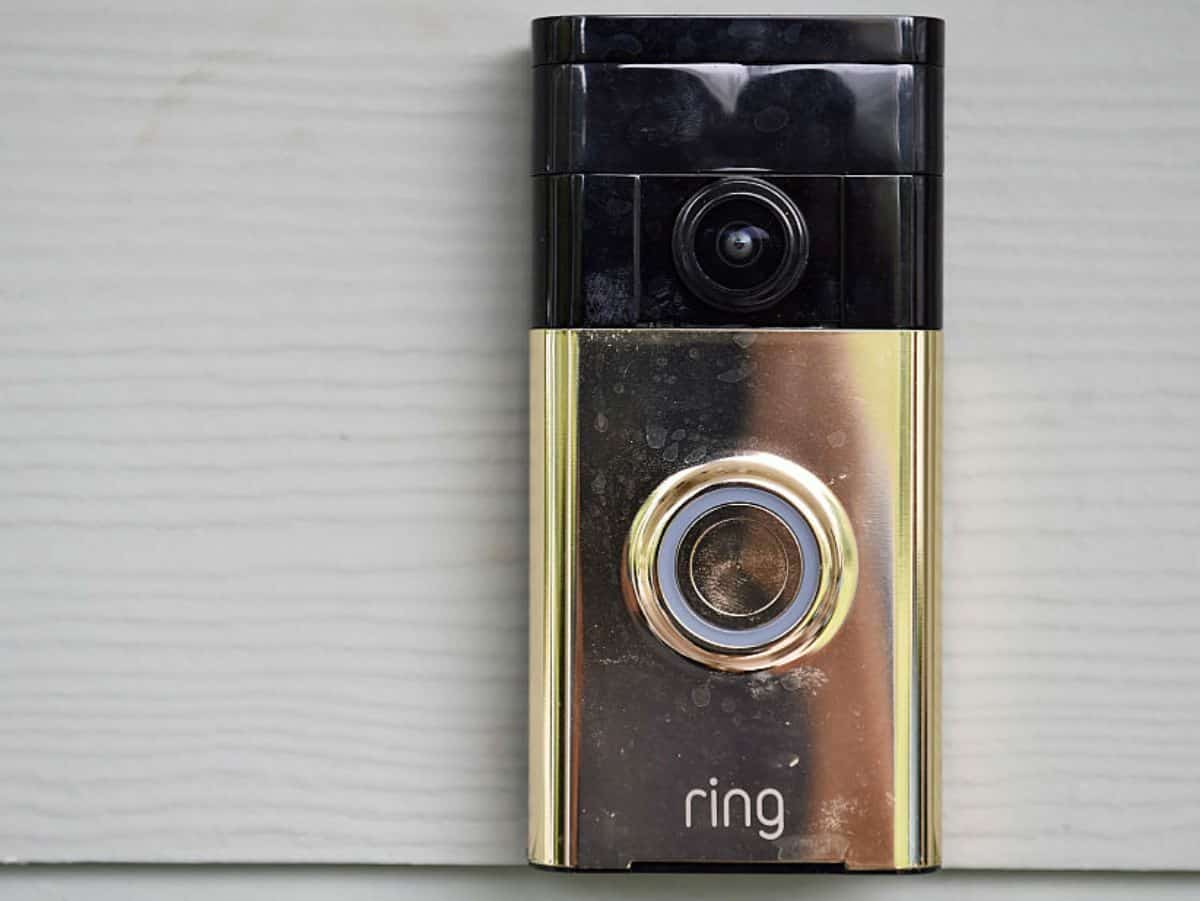
To kick off your doorbell installation project, first you’ll have to unpack the doorbell and familiarize yourself with the contents of the package. This will usually include the doorbell itself, a small screwdriver, several screws and other fittings, and a charging cable. The specific materials included in your package will depend on the model you purchased, but most of them will be very similar in nature. It’s a good idea to lay out all of these items on the floor or on the table. That way, you can clearly see all of them when you’re ready to make use of them.
Step Three: Get Power For Your Doorbell
Again, there will be some variability in this step, depending on the specific doorbell model you’ve purchased. If you’ve purchased a battery-powered model, you won’t have to deal with any kind of hard wiring during this step. Instead, you’ll just have to wait a while and allow the internal battery to get charged up.
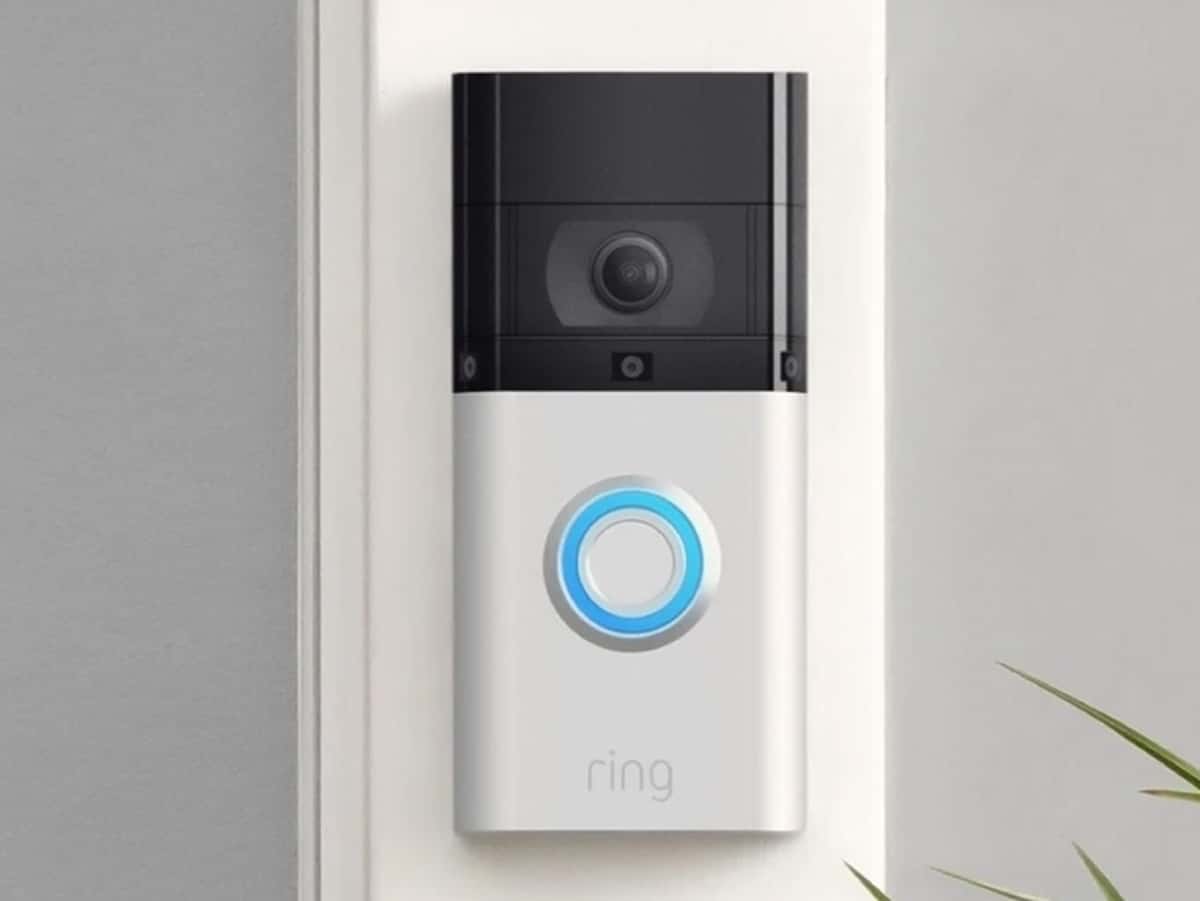
For newer Ring Video doorbells (Generation 2), you can plug in the charging cable at the back. If you’ve purchased a Ring doorbell of either the 3rd or 4th generation, you’ll be able to simply press the release to charge the battery pack. There will be a light at the top of the device which becomes green when the battery has been charged to the maximum.
On any of the Ring doorbells, you’ll also have the option to hardwire it. The default is to have a battery-powered model which is used wirelessly and calls for a rechargeable battery. If you happen to be replacing your current hardwired doorbell, make sure to turn off the power supply for the sake of safety before proceeding.
At that point, you can then remove the old doorbell and disconnect all the wiring. If you have no doorbell wiring already in place, a Ring doorbell will allow you to install it from scratch by using a plug-in adapter. This will work well even with an ordinary indoor socket that has a wire going the distance to the doorbell.
Step Four: Download the Ring App
You’ll have to set up your Ring doorbell for iOS or Android prior to installing your doorbell on the mounting plate. After you’ve downloaded the Ring app to your smartphone, open up the app. If you have not installed any other Ring devices in your home, you’ll be prompted to open up an account. Once you have opened up the account, you’ll need to perform the following actions:
- Follow all on-screen instructions provided, so that you can properly create your new Ring account
- On the home screen, look for three lines in the upper left corner and then choose the Devices option
- Choose ‘Set Up a Device’, which will appear at the bottom of the screen
- Now choose ‘Doorbells’, which allows the Ring app to make use of your smartphone’s camera
- There will be a QR code on the back of your Ring doorbell, or on the package it came with. Use your smartphone to position the QR code at the top of your screen.
- When you see a green square around the QR code, you’ll know you’re properly positioned
- When you’re prompted to permit location access, you should enable this. This can be important because some doorbell features won’t work right unless you do enable location access.
- The last step is to provide a name for your new ring doorbell.
Step Five: Connect Wi-Fi to Your Doorbell
At the back of the doorbell, you should be able to find an orange button. By pushing this, you should see a light come on, and this light will begin spinning. Once it starts to spin, press Continue in the app. At this point, you will be prompted to join your home Wi-Fi, unless you are an Android user, in which case the step is automatic, and you won’t have to do anything except input your password. Now you should be prepared for a full connection.
Step Six: Mount the Doorbell
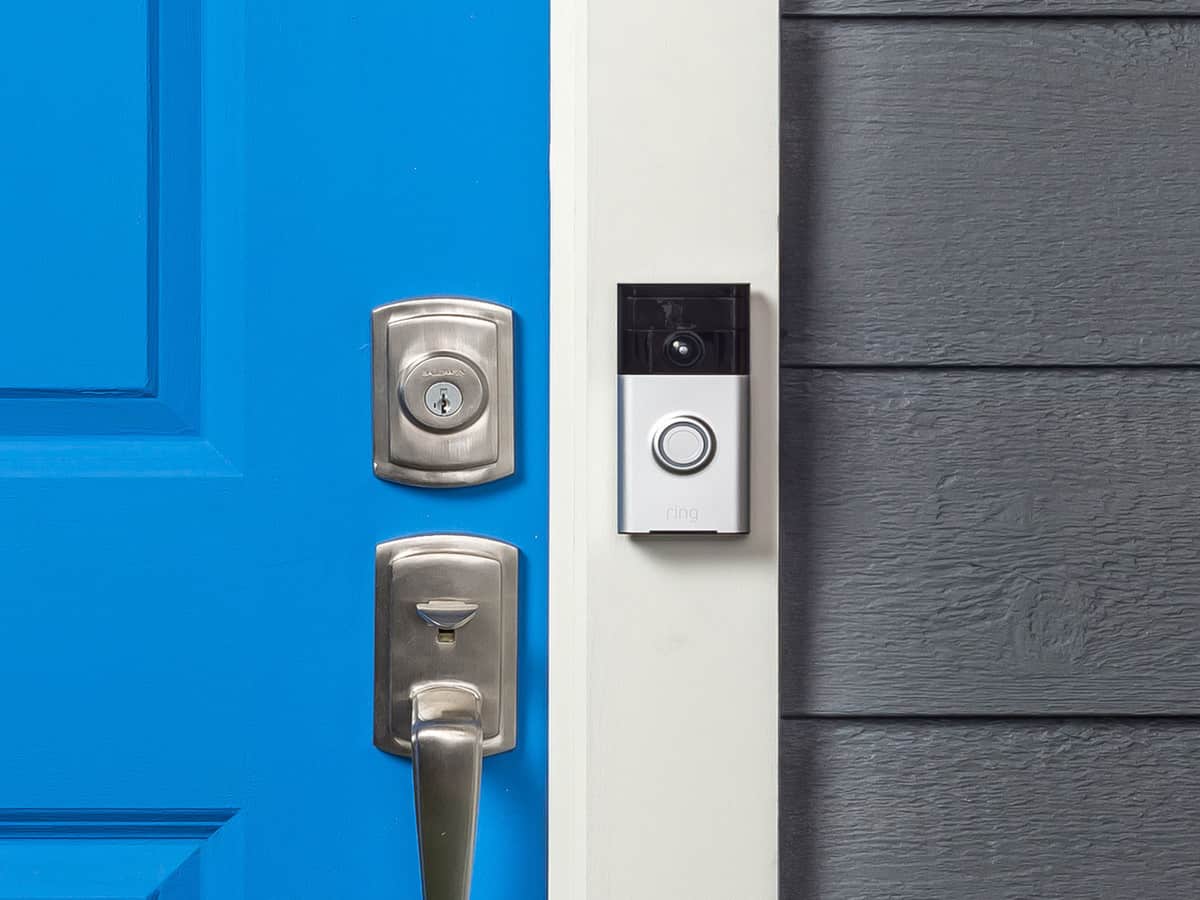
This may be the most involved step in the entire process, but with patience, you should have no trouble accomplishing it with ease. The best approach is to locate your new doorbell about 1.2 meters above the ground. However, you’ll have to use your best judgement, based on whether or not your front door has steps leading up to it, and how long your driveway might be.
Place the mounting bracket in the spot you have chosen and lightly mark where you intend to insert the screws. Don’t forget this marking step, because you’ll need it in a few minutes to properly mount the screws. Use a leveling tool to make sure everything gets perfectly aligned. If you have to mount your doorbell on stucco, concrete, or brick, you can use plastic anchors and a drill bit. This will not be necessary if you are mounting on a wooden surface.
Now you can use the screws to secure the mount to the wall at those specific points which you initially marked. The Ring doorbell has a tab on the mount that can be used to make it easy to put it in place before securing it tightly with the smaller screws. While these smaller screws might have some variability between models, they all essentially work to retain the faceplate in its proper position.
Step Seven: Setting Motion Zones
One of the great things about a Ring doorbell is that you can establish Motion Zones. This will help to eliminate false alerts such as from passing traffic or neighbors who may happen to be passing by. Here’s how you can setup as many as three different Motion Zones:
- On the home screen of your Ring app, press the three lines at the upper left-hand corner
- Choose ‘Devices’
- Tap your Ring doorbell at the top, where you can see options such as Front Door
- Choose Motion Settings
- Choose Edit Zones
- Tap Add Zone at the bottom of your screen, and drag the colored slider until you have the desired area highlighted
Any movement in this highlighted area will trigger a Ring notification. Any movement outside this area will be ignored. By setting up as many as three different Motion Zones, you should be able to filter out all false notifications, and only be alerted when you actually have a visitor.
Mounting Variations
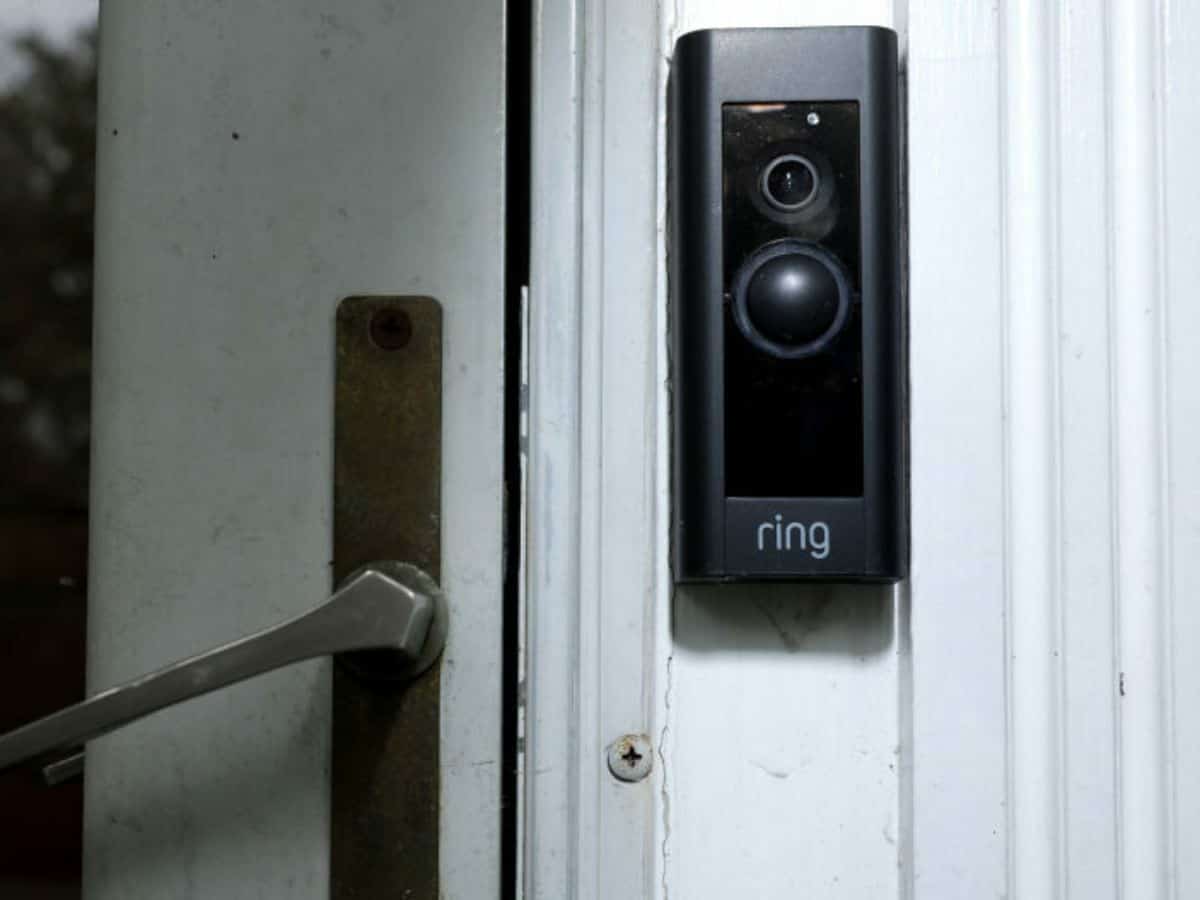
If you have a hardwired Ring doorbell, you’ll have to feed the doorbell wires through the holes in the bracket prior to attaching the mount. Once you secure the mount to the wall, you’ll have to connect the wires to the screws at the back of your Ring doorbell. At that point, you can simply follow the instructions provided above.
Some people can’t drill holes because they’re renting the home where they’re living and aren’t allowed to drill holes. In this case, the instructions for how to install a Ring doorbell become a bit different. The alternate approach to mounting the doorbell calls for using high-quality mounting tape that does not wear out. It will also avoid the possibility of causing your doorbell to malfunction or go dead.
Technology and Products by ONIT Home
ONIT Home is a trusted company that provides the latest in technology and products, in just the way that customers prefer to have them. Our professional specialists can install water filtration systems, solar power systems, and a great deal more. Security systems are another of our specialties, and if you lack the kind of do-it-yourself skills to install a ring doorbell, we can do an expert job on that for you as well. Whatever you need, we’re ONIT!
Call us today at 1-833-433-0331 to get started.