

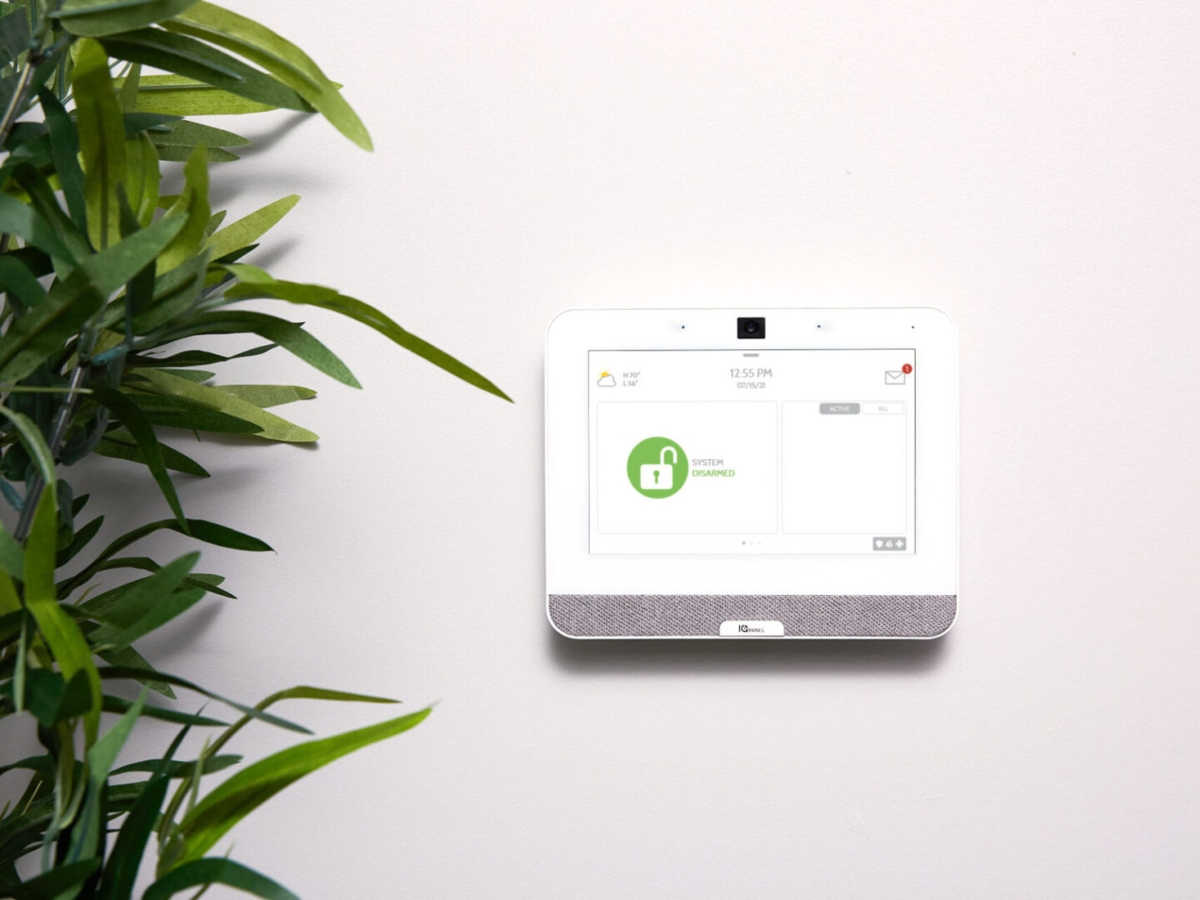
The IQ Panel 4 Security System is a next-generation home automation controller and home security system. It’s manufactured and distributed by Johnson Controls, and is a system that integrates many of your household functions. These functions can be managed from a single source, and you can be aware of those settings all over the house. In this article, we’ll be discussing how to add photos to IQ Panel 4. This will allow you to identify everyone who should have access to the system.
It comes equipped with an 8 megapixel 120-degree wide-angle camera that can capture both internal and external images. Many people find it useful and entertaining that Bluetooth audio streaming is another of its prominent features. The 7” LCD glass touchscreen makes all messages and images clearly visible. When viewing photos, these are also displayed very clearly.
Why Add Photos to Your IQ Panel 4?
Adding photos to your IQ Panel 4 controller can be both useful and entertaining. As mentioned above, you can add photos of all those individuals who should have access to the system. The controller will automatically take pictures of anyone who attempts to arm or disarm the system. That will tell you right away whether they’re authorized or not.
The controller is also usable as a photo display system. It’s a simple matter to enable full-screen viewing of photos. This is especially true if you have your controller set up on a tabletop. Friends and guests can gather around the table to view photos taken on a recent trip or special event. With the crystal-clear screen, everyone will be able to enjoy the photo show and feel like they were actually there.
When you’re having a get-together like this, it might be convenient to use the slideshow feature. That will avoid the necessity of having to manually call up each individual photo. If necessary, you can interrupt the slideshow to discuss a particular feature. Afterward, you can return to slideshow mode. If there’s a special photo you have from one of these events, you can designate it as your background image.
If you’re wondering about how to add photos to IQ Panel 4, pay close attention to the following paragraph. When you want to delete some or all of the photos, it will be a fairly simple process as well. For the most part, you would follow the same instructions, but just select Delete instead of Add. As is the case when adding, you can either delete all photos or select specific images for deletion.

Step-by-Step Process for Adding Photos
The process for adding photos is very easy when putting them into your IQ Panel 4 controller. The entire process is described in the User Guide. The same steps are listed below in case you’ve misplaced your guide. These instructions are for those individuals using an Android device:
- Enter your user code to access the Advanced Settings menu. Then tap on Bluetooth Devices and Add Phone. Follow the instructions on the tab labeled ‘How to Pair Bluetooth Devices’.
- The photos must be copied to an SD card in a folder named Photos.
- Swipe down to access the Settings Tray. This allows you to use the menu options that add photos.
- Tap on Photo Frame. This brings you to the photos menu, enabling all the necessary selections for adding photos.
- Tap the Add button. This informs the control panel that you intend to add photos for storage.
- Insert your SD card. There is a slot at the side of the controller. This is where you can insert your SD card containing the photos.
- Tap the SD Card button. This invokes a dropdown menu. From here, you should select Bluetooth Device.
- Find the tab at the bottom of the screen. Look for the tab ‘How do I add my own pictures into Photo Frame using Bluetooth?’ Follow the instructions provided on this screen, and your photos will be added.
- Pair your device to the IQ panel. This is the first step necessary for pairing your device to the panel. If you already did that in Step 1, skip this step.
- Select your photos. You can select specific photos from the SD card by individually touching them. You can also Select All to copy all the photos.
- Accept request. An incoming request pops up to verify you intend to add photos. Accept this request.
- Wait for the photos to load. It takes very little time to load the photos and have them copied to the IQ panel. At this point, they’ll be ready for viewing.

Other Features of the IQ Panel 4
While adding photos can be a very useful feature, Panel 4 has many more capabilities. It can be used to manage your home security and several other household functions. Below are listed some of the most useful and impressive features of the system.
Controlling Temperature
Controlling temperature is one of the things you can do from the control panel of your IQ system. The panel makes it easy to set the temperature for up to 10 different areas in your household. You can add as many as 10 different thermostats to your panel. That will allow you to set a lower temperature in a bedroom or hallway. Then you can set a higher temperature in the living room, where you and the family will spend time. You can also integrate temperature settings with your smartphone. This makes it possible to manage temperature settings from your phone when you’re not home.
Managing Locks
All the locks in your household can be locked/unlocked using the control panel. Even your garage door can be integrated with the system. This kind of ease will make your home life easier and more secure.
Emergency Alerts
Alerts can be triggered automatically when there’s a fire. Alerts can also be set when someone breaks a window. Other alerts can be set as well, depending on what you need help with. You have the option of triggering these alerts manually as well. This ensures that the appropriate local agency gets notified promptly, and can react to your emergency.
Message Management
You can either send or receive messages from your provider in the Message Center. This keeps you apprised of any information you may need to operate and maintain your Panel 4 system. The direct connection to the Message Center allows for constant updates as well.
Music Streaming
The QuadSound speaker system permits streaming over Bluetooth. This allows you to enjoy listening to music with the best possible quality.
Streamlined Installation
The SmartMount installation system can be set up on a wall mount or tabletop. The audio system includes a brand-new IQ Base Table Stand Subwoofer.
Live View
Your system is customizable, so you can show a live view of a specific room in the house. You can also set up an external view of the home. Anyplace you have cameras set up will be visible on the monitor. This can be very handy if you have an infant in the house that you need to monitor. It might also prove useful if there’s a room containing some valuable assets. External views provide you with a good look at what’s happening outside. If there are any outside security issues involving an intruder, you’ll know it right away.